I do not like recipes with a lot of preamble about a person’s great great great grandmother, or the history of a recipe. However, my chicken nugget recipe is something that has been 10 years in the making. I recently perfected this recipe and believe it is now time to share with others. I have some general sources that helped me come to this current iteration, as I have read many recipes for gluten free fried chicken and fried chicken in general. I believe at this current stage I can consider this to be my own creation.
I have found even picky eaters that dislike fried chicken (How can that be?!) Love this meal.
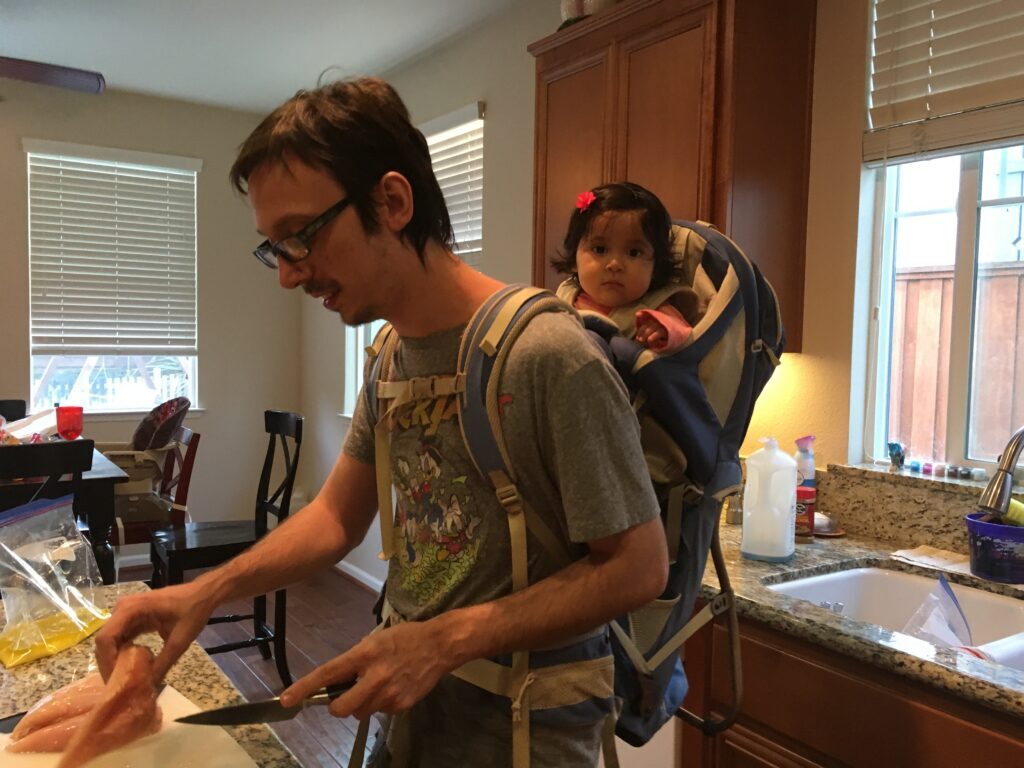
In the picture featured for this post here you can see I have a bag of eggs…. I do not use this method at all anymore. I just wanted to share this image to illustrate how long this recipe has been in the making.

My measurements when I cook this are not exact. This is something that for spices I run by feel and you should feel comfortable adding spices by the seat of your pants, as the risk is low. One basket of chicken is small and a flavor that is not quite what you want will get lost in the greater bowl of chicken served to your guests.
To make this properly requires some equipment, I use the following items:
- Deep Frier (I fry in canola oil, as it provides a good neutral flavor)
- 2 Large bowls
- Colander
- Paper Towels (or a cooling rack to drain)
- Serving bowl, plate or just somewhere to ultimately put your finished chicken nuggets
- 2 pairs of Tongs
- 1 pair considered clean for moving cooked chicken and another considered dirty for handling uncooked chicken
- Whisk, fork, or chop sticks for mixing the breading
- Saran wrap
The ingredients list is short, but you will require the following:
- Gluten Free flour (I use a general purpose flour brand that is free of lentils… there is no reason for this other than my weird allergies)
- Baking Powder
- 2-4 lbs of chicken cut into cubes
- Cumin
- Paprika
- Black pepper
- Chili powder
- Garlic powder
- Salt
- Buttermilk
The real magic with this, starts at least 24 hours before frying. If you skip this part, or you fail to give this step the time required; then your chicken will not be correct.
I combine Salt, Paprika and 1/2Gallon of buttermilk into a large bowl. I never take measurements but, there are a few guidelines to this.
- You almost can’t have too much salt 1tbsp is a good starting point
- Most of this mixture will go down the drain
- You should be able to easily visually tell paprika has been added to the buttermilk
- The butter milk mixture should look a little red
The next step is to cube up your chicken into roughly 1-2 inch squares and add it to the bowl. From there cover the bowl with Saran Wrap and set it in the refrigerator for at least 24 hours. If you are felling adventurous you can let it sit for 48 hours.
The salt here is very important, as it will serve as a bit of a brine. The result will be that the chicken is very tender with each bite tasting like an explosion of ranch dressing.
The day of my fry, what I do is I remove the chicken from the fridge, and dump it into a colander that is placed in the sink to drain excess buttermilk.
The breading for this chicken is simple, and is easy to tweak, as you go for the flavor you want. The most important guideline though is to ensure the correct ratio of flour to baking powder, as this has the most impact on the texture. We are aiming for a soft, lightly breaded chicken.
Combine 1 cup of flour with 1 tbsp of baking powder in a bowl designated for breading. From there, add cumin, salt, black pepper, paprika, garlic powder and chili powder as desired. I find that by going a bit heavy on the black pepper, and cumin offers a flavor similar to what I remember Burger King’s chicken fingers taste like. (I have not had these in well over 30 years. So, if the 3 people in the world reading this can confirm, that would be cool)
This mixture for the breading will cover just over 1 1/2 baskets of chicken. I mix as I go to avoid waste.
From here, everything should be straightforward. Take chicken from the colander with tongs and place it in your breading bowl and shake until all the pieces of chicken are evenly covered and begin to fry the chicken.
Frying the chicken is easy. I found that 2 things should be observed in this process.
- Your oil should be hot.
- I set my frier to 450F which is as hot as it goes.
- If you are not using canola oil you should adjust as necessary to prevent fires. Canola oil is safe up to 475F.
- Wait between batches for the oil to get hot again.
- You should let the oil on the cooked chicken drain back into the frier while it heats up for the next batch.
- Do not over fill your basket. You should only have a single layer of chicken in your deep frier basket, as anymore will cool your oil too much, and ruin the texture of your chicken.
I fry the chicken to a golden brown, and sample for doneness. At this point, I also have others taste to know whether my spices are on point. This is a very subjective process, and you should feel comfortable to tweak this, as you go for maximum effect.
As chicken finishes move it from the frying basket to a cooling rack or paper towels with your clean pair of tongs, and repeat the above breading process until all the chicken is cooked. You may be tempted to try to bread all of the chicken at once. However, I have found that this typically does not lead to the desired outcome.
While the chicken is resting I sometimes add more salt, but this is optional. I do this as I remember in the book “The Food Lab: Better Home Cooking Through Science” it is stated that even if you have fried dog crap you should always apply a seasoning while the food is still hot.
Each bite should be peppery, taste of cumin and the inside of the chicken should be moist and taste like an explosion of ranch dressing. If you did not add enough salt in the soak, then you will miss this ranch like flavor.
References… Resources that have helped me get here today
https://glutenfreeonashoestring.com/gluten-free-fried-chicken-kfc-style
Martha and Snoop’s Potluck Dinner Party S1E1 – Buttermilk idea came from here
The Food Lab: Better Home Cooking Through Science – J. Kenji López-Alt – This book is great just to learn how to better cook without having to run tests yourself